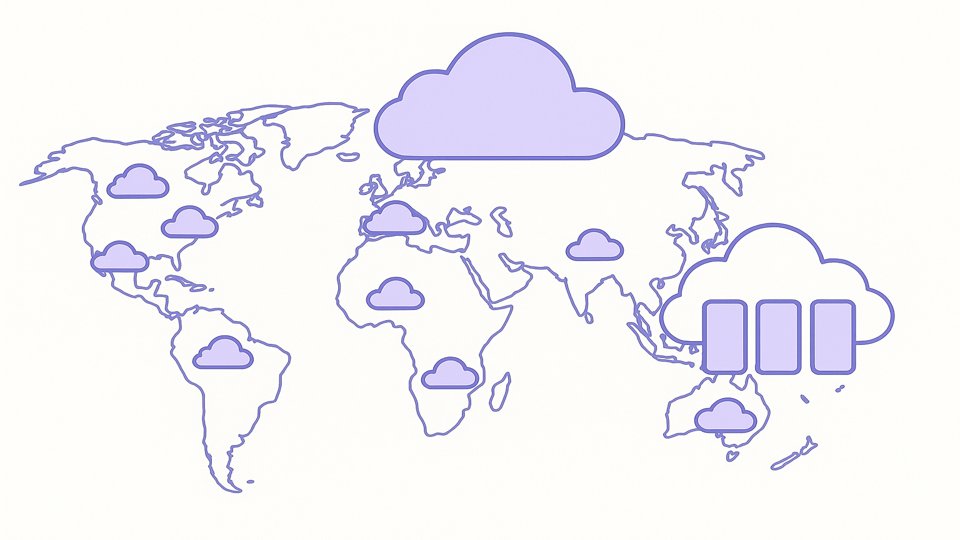
Azure Global Infrastructure: Regions and Availability Zones
Azure Global Infrastructure: Regions and Availability Zones Explained 🌍🏢 Hello,
Azure Global Infrastructure: Regions and Availability Zones Read Post »
Azure Global Infrastructure: Regions and Availability Zones Explained 🌍🏢 Hello,
Azure Global Infrastructure: Regions and Availability Zones Read Post »

Hello, cloud explorers! 👋 Ready to embark on a journey
Navigating the Azure Portal: A Fun-Filled Guide to Cloud Mastery Read Post »
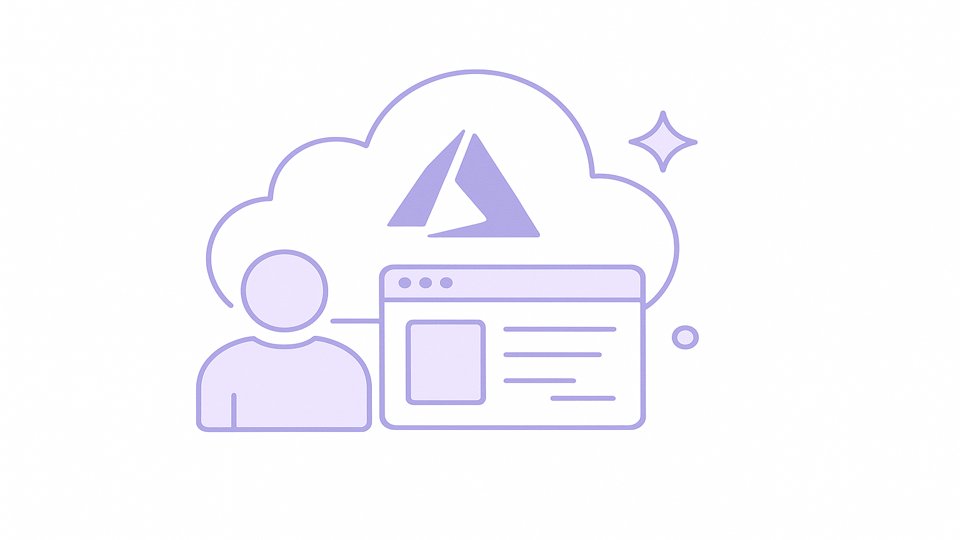
Hey there, tech wizards! 🧙♂️ Ready to embark on a
Introduction to Microsoft Azure Read Post »

Hello, fellow cloud navigators! 🌤️ Ever found yourself lost in
Navigating the GCP Support Maze: A Guide to Resources Read Post »

Hello, cloud adventurers! 👋 Ready to take your first step
Launching Your First GCP Compute Engine Instance Read Post »

Hello, future cloud gurus! 👋 Are you eager to dive
GCP Free Tier and Billing Overview Read Post »
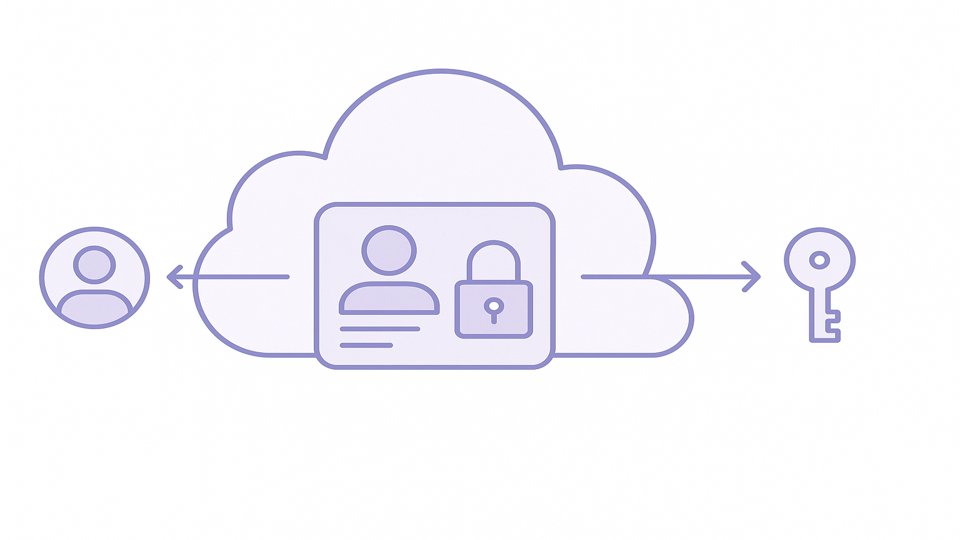
Hello, cloud explorers! 👋 Ever wondered how to keep your
GCP Identity and Access Management Read Post »
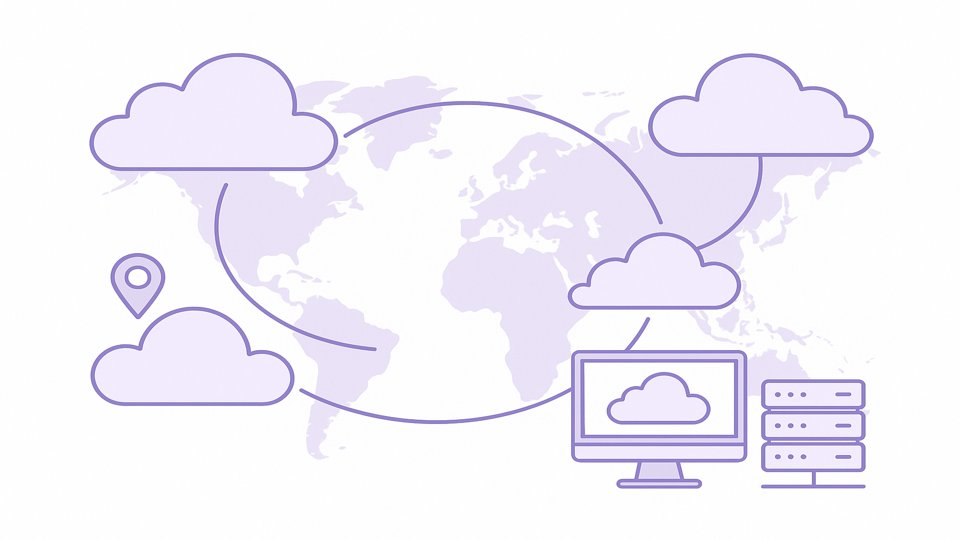
Hey there, cloud enthusiasts! 👋 Ever wondered how Google Cloud
GCP Global Infrastructure Read Post »