
Deep Dive into AWS EC2 Instances
Welcome to Compute Wonderland! 🌐 Before we dive headfirst into
Deep Dive into AWS EC2 Instances Read Post »
Welcome to Compute Wonderland! 🌐 Before we dive headfirst into
Deep Dive into AWS EC2 Instances Read Post »
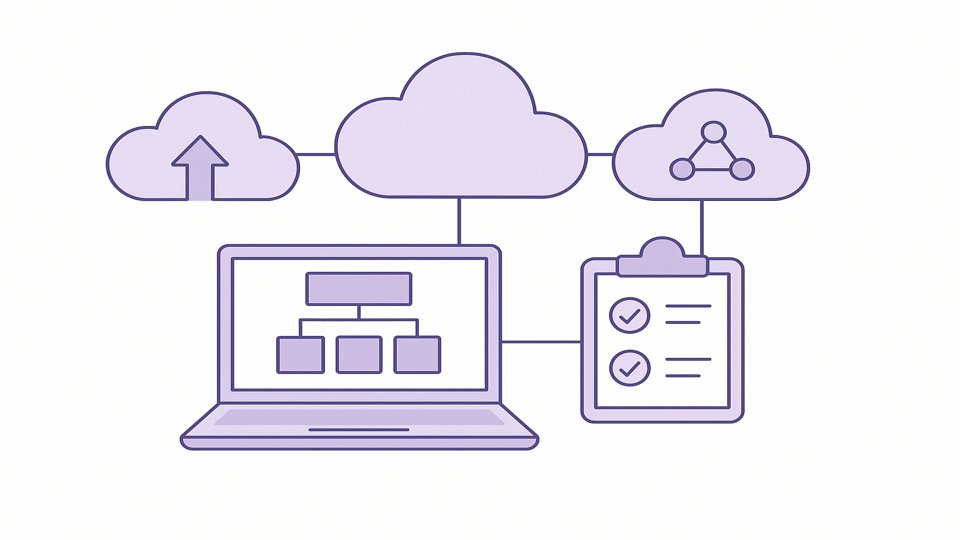
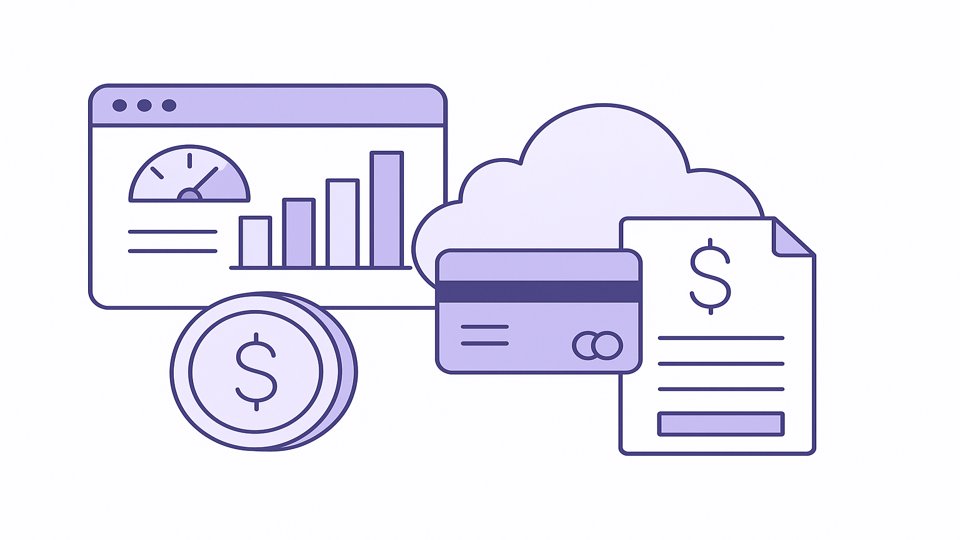
Why Multi-Cloud Matters in 2025 🌐 Remember when choosing a
Multi-Cloud Strategies and Best Practices Read Post »
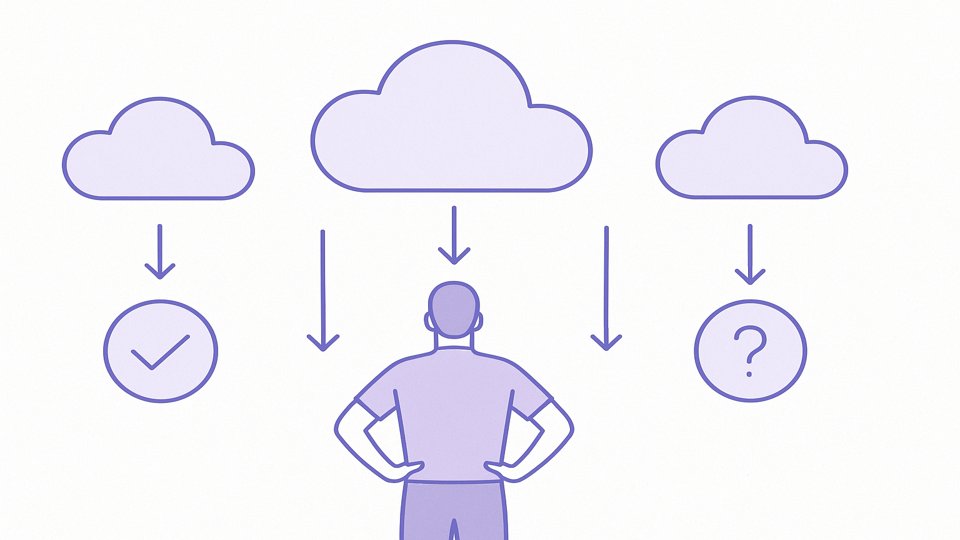
Navigating the cloud landscape can feel like finding your way
Choosing the Right Cloud Provider for Your Needs Read Post »
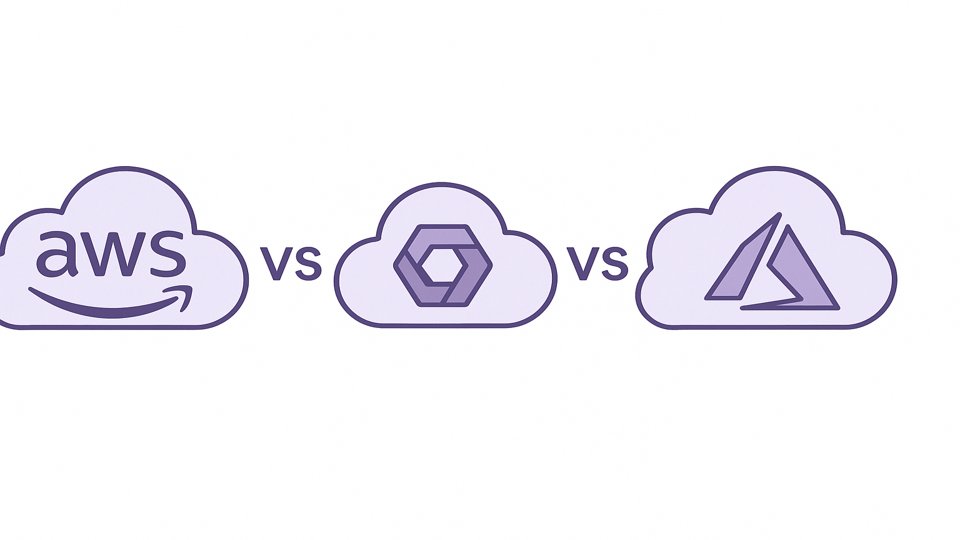
🌩️⚔️Hello, cloud warriors! 🛡️ Choosing the right cloud provider can
AWS vs. GCP vs. Azure: Core Differences Read Post »
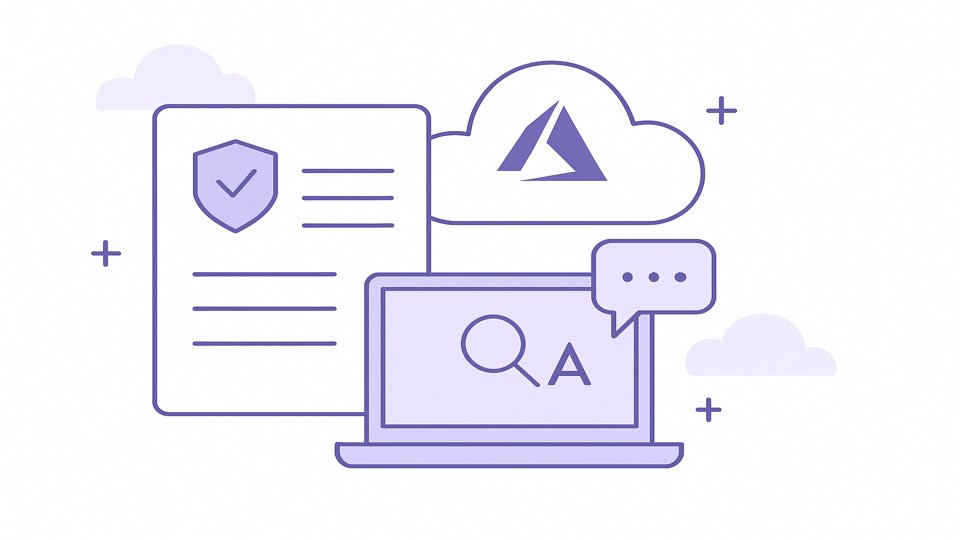
Greetings, Azure aficionados! 👋 Whether you’re a seasoned cloud architect
Azure Support and Documentation Resources Read Post »

Hello, Azure enthusiasts! 👋 Ready to dive into the world
Creating Your First Azure Virtual Machine Read Post »
Hello, future cloud aficionados! 👋 Ready to dive into the
Azure Free Tier and Billing Overview Read Post »
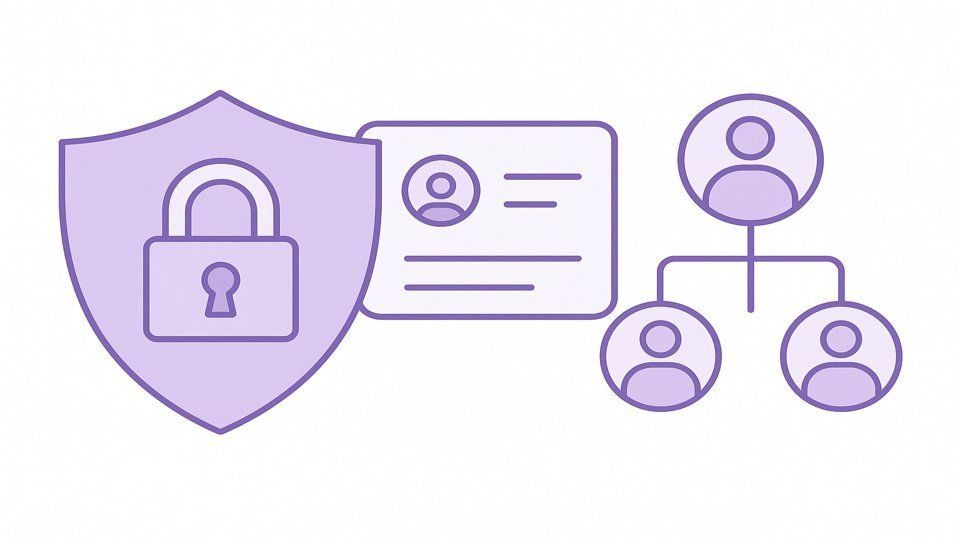
Greetings, cloud maestros! 👋 Ready to dive deep into the
Mastering Microsoft Entra Identity and Access Management Read Post »